Git CLI Fundamentals
Pullthe newest version of a branch before you start work and before youpush- Create
branchesof existing projects for fixes and experiments that you want to work on Commitchanges to your working branch often and with descriptive messages of what you changedMergeyour branch to the main working branch frequently to avoid large conflicts
Typical Workflow
Clonethe remote repository you want to work on- Create a
branchfor your edits - Update repository files/folders and
commityour changes Pushyour branch and commits to the remote repository- Login to Gitlab and initiate a
mergerequest to the main branch to propogate your updates
Initializing a new local repository
If you are creating a brand new Git project, this can be done by "initializing" the current folder with the following command:
git init
After creating a new local repository, you will need to point it to where the remote version lives:
git remote add origin https://gitlab/<GROUP>/<PROJECT>
git branch --set-upstream-to=origin/main
Cloning an existing remote repository
-
First, change directories to a staging folder for your Git projects - in this case,
/cvah/git/:cd /cvah/git/ -
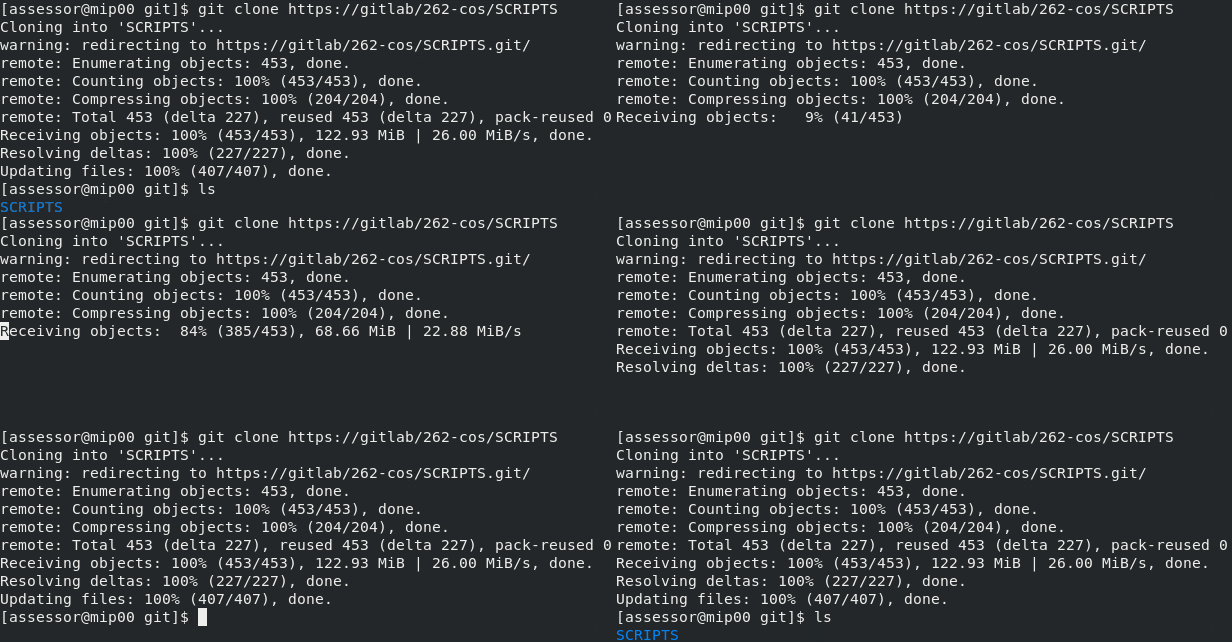
Clone the repository you want to work on from the DIP Gitlab instance to your local filesystem:
git clone https://gitlab/<GROUP>/<PROJECT>
Creating/Switching Branches
Working from the main branch is not recommended unless you are creating a new project or are the only one expected to work from the project.
-
First, change directories into the repository you want to work from:
cd /cvah/git/<LOCAL_REPOSITORY> -
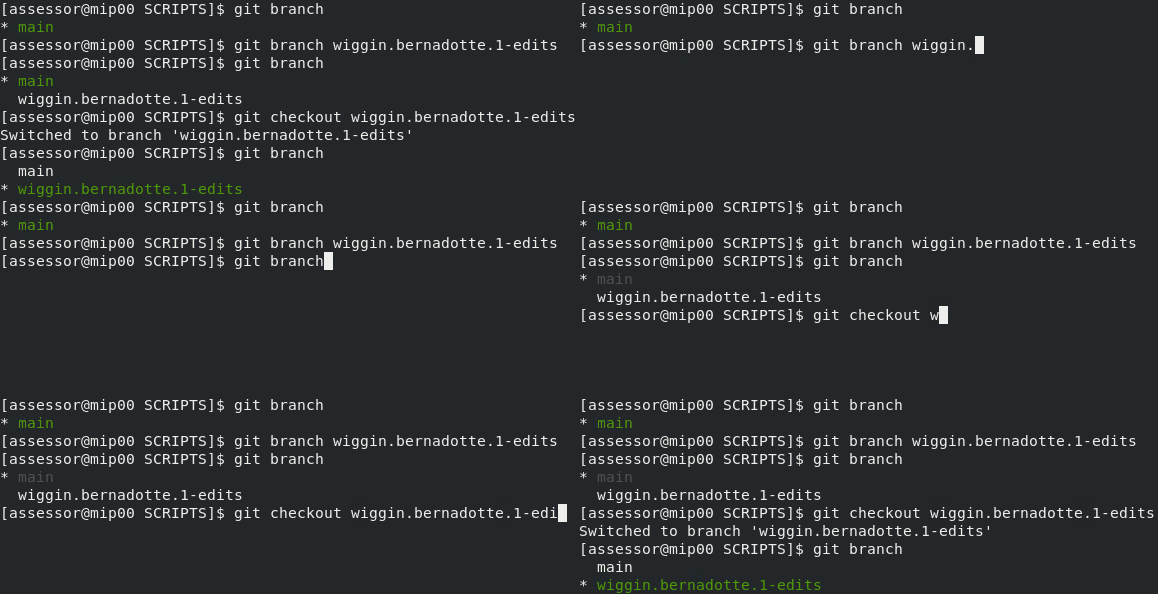
Create a new branch, then use
checkoutto switch to it:git branch <NEW_BRANCH_NAME>
git checkout <NEW_BRANCH_NAME>
Staging and Committing changes
- All
commitsremain local until they arepushedto the remote (Gitlab) repository. - You should create a different
commitfor every unrelated change, while grouping related changes into a singlecommit. - A
commitis like saving a file - you should do it often and document what was changed in thecommitmessage.
-
First, change directories into the repository you want to work from:
cd /cvah/git/<LOCAL_REPOSITORY> -
Check to see which files/folders have been created/changed since the last
commit:git status -
Next, specify the files and/or folders (recursive) that you want to
addto the "staging area" for thecommit:git add <FILE(S)/FOLDER(S)>tip- To add all files:
git add . - To add files interactively:
git add -i - To add changes only from all tracked (pre-existing) files and not new files:
git add -u
- To add all files:
-
After the files/folders that you created/changed have been added to the "staging area",
committhe changes with a descriptive change log:git commit -m "<COMMIT_MESSAGE>"example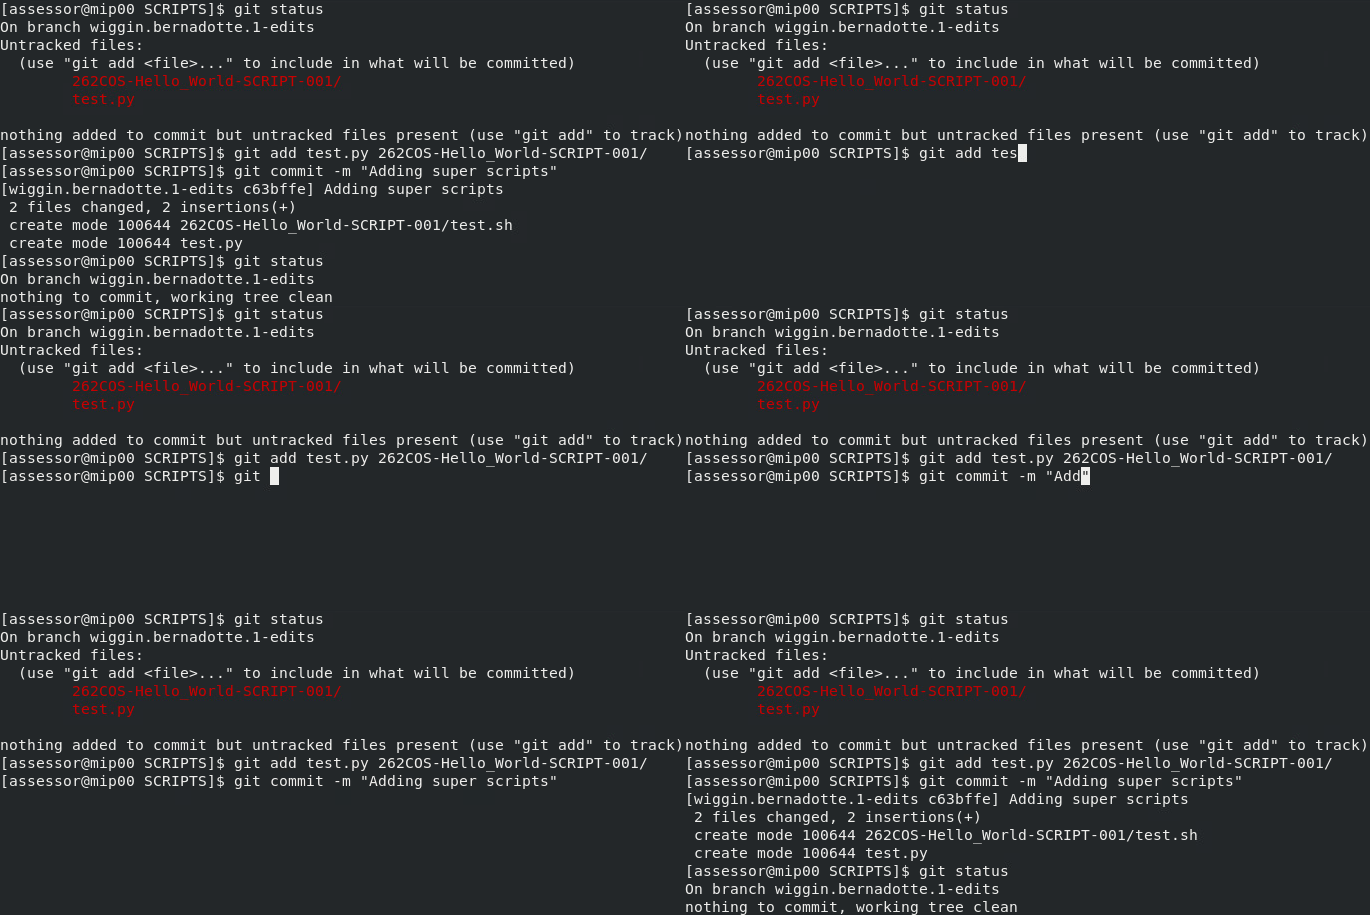
Pulling changes from the remote repository
In the case that the remote Gitlab repository has been changed, you will need to pull those changes to sync your local repository:
git pull
If you perform a git pull and there is a conflict between changes in the remote repository and changes in your local files, Git will attempt to merge these changes automatically. However, if Git cannot resolve the differences automatically (which often happens when the same lines in the same files have been changed differently in the two versions), it will result in a merge conflict where the following will occur:
-
Git Marks the Conflict: Git will pause the merge and mark the conflicted files in your working directory to indicate that there are conflicts that need manual resolution.
-
Conflict Indicators: Inside the conflicted files, Git will insert visual markers that delineate the conflicting changes, such as
<<<<<<<,=======, and>>>>>>>. The content between<<<<<<< HEADand=======is your local change, and the content between=======and>>>>>>> <COMMIT_HASH>is the incoming change from the remote. -
Manual Conflict Resolution: You must manually edit the files to resolve the conflicts. This involves deciding whether to keep your local changes, the remote changes, both, or some combination of the two.
-
Mark as Resolved: After resolving the conflicts in each file, you will need to stage the files (
git add) to mark them as resolved. -
Complete the Merge: Once all conflicts are resolved and the changes are staged, you can complete the merge process with a
commit(git commit) - Git will typically provide a pre-populated commit message for the merge.
Pushing commits to the remote repository
-
View the currently configured
remoterepository URL(s):git remote -vtiporiginis the alias name for theremoteURL thats back to where the local repository willpushto/pullfrom by default.- If the
originURL needs to be changed, this can be done with the following command:git remote set-url origin https://gitlab/<GROUP>/<PROJECT> - If no
remoteis configured, you can addoriginwith the following command:git remote add origin https://gitlab/<GROUP>/<PROJECT>
-
Pushall of your commits to the the remote repository:git push origin <BRANCH_NAME>tip- If you created a new
remote, you have to specify it as the new "upstream" that your branch points to - otherwise you will get an error when trying topushgit branch --set-upstream-to=origin/<BRANCH_NAME>
- If you created a new
Merging branches
The git merge command only merges local repositories and does not work for remote Gitlab repositories. Instead, you must login and use the Gitlab web UI to initiate a merge request.
Merging is used to combine the histories of two branches in your Git repository. When you merge one branch into another, you're integrating the changes from one branch into another.
-
First, checkout the target branch you want to merge into:
git checkout <TARGET_BRANCH> -
Next, merge the source branch into the target branch:
git merge <SOURCE_BRANCH>